


How To Install Mirrors The Right Way
Picking the appropriate adhesive is essential when installing a mirror, as the silver backing is highly susceptible to damage from some adhesives, potentially causing harm to your mirror.
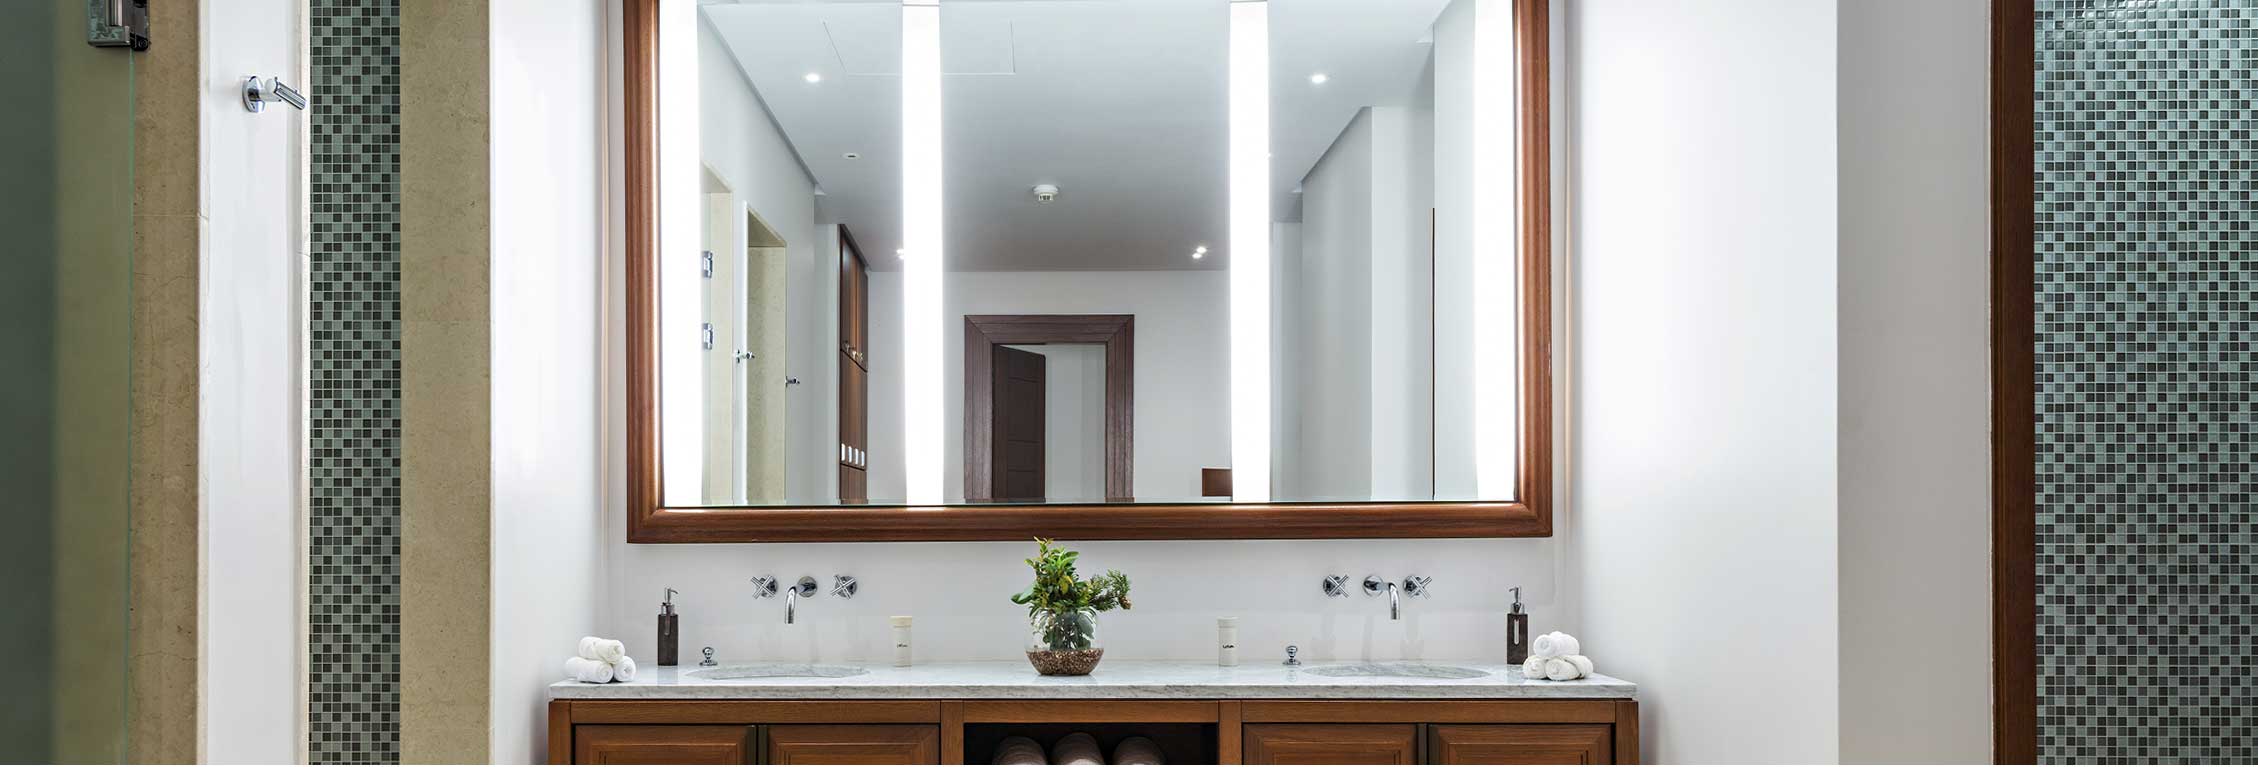
Choosing the right adhesive is critical for a mirror installation. The silver backing on the back side of your mirror is extremely sensitive to adhesives. Some adhesives can burn through the silver backing, and damage your mirror. We recommend using LIQUID NAILS FUZE*IT All Surface Construction Adhesive (LN-2000).
Step 1.
After you choose your mirror-friendly adhesive, measure your mirror. If you mirror is over 2’ x 2’, make sure there is a base or lip for the mirror to sit on at the bottom of the mirror. Mirrors 2’ x 2’ and over must have physical fasteners like mirror clips, or L or J hooks so the adhesive cures properly.
Step 2.
Apply a 1/4-inch continuous line of adhesive (bead) every 4 to 6 inches across the back of the mirror vertically. This allows air flow behind the mirror so moisture does not get trapped.
IMPORTANT NOTE: Do not seal around edges.
Step 3.
Press your mirror into position. Allow 24- 48 hours for your mirror to cure.
Please refer to the Product Label, Technical Data Sheet (TDS) or Safety Data Sheet (SDS) for safety and detailed application instructions.
Featured How-Tos
.jpg)
How To Remove Construction Adhesive
Remove construction adhesive by scraping softened glue to separate bonded materials.
Learn More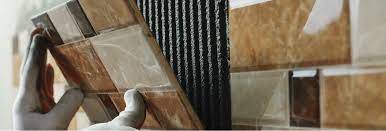
How To Conquer Challenging Vertical Applications Using Construction Adhesives
Installing vertical materials can be challenging especially when mechanical fasteners are not easily used.
Learn More.jpg)
How To Build A Deck
Enhance the durability and longevity of wood or composite lumber decks by incorporating construction adhesive alongside traditional fasteners like nails and screws.
Learn More